はじめに
Google が「Android」を学べる無償コースを提供しているという記事を読んだので取り組んでみました。
japan.zdnet.com
以下のコースでウィジェットの位置を指定する箇所があるのですが、指定に対して位置がどのように変化しているのか分からなかったので調べてみました。
Android Kotlin の基礎 : 基本的なAndroidプロジェクトの構造
codelabs.developers.google.com
目標の配置
目標としてはTextViewとButtonを中央に縦並びで配置します。

初期の配置
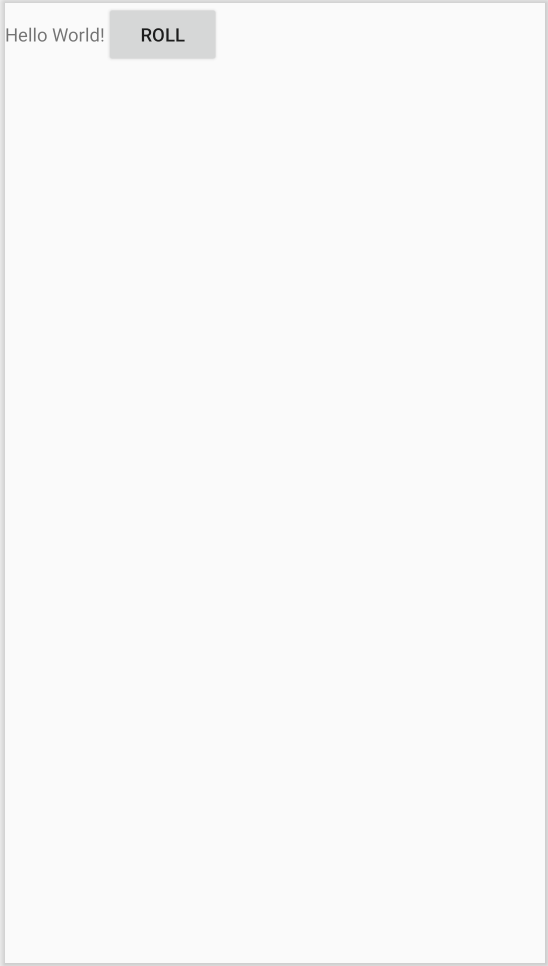
width と height を指定したLinearLayoutを使用すると、左上にテキストとボタンが横並びとなっていました。

<?xml version="1.0" encoding="utf-8"?>
<LinearLayout
    xmlns:android="http://schemas.android.com/apk/res/android"
    xmlns:tools="http://schemas.android.com/tools"
    android:layout_width="match_parent"
    android:layout_height="wrap_content"
    tools:context=".MainActivity" >

    <TextView
        android:layout_width="wrap_content"
        android:layout_height="wrap_content"
        android:text="Hello World!" />
    <Button
        android:layout_width="wrap_content"
        android:layout_height="wrap_content"
        android:text="@string/roll_label" />

</LinearLayout>
1. ウィジェットを上下に並べる
LinearLayout の orientation を指定して子要素の並びを変更します。
orientation には vertical と horizon が指定できます。
orientationを指定しない場合の規定値は horizon となるため、初期の位置ではウィジェットが左右に配置されていたようです。

LinearLayout | Android Developers
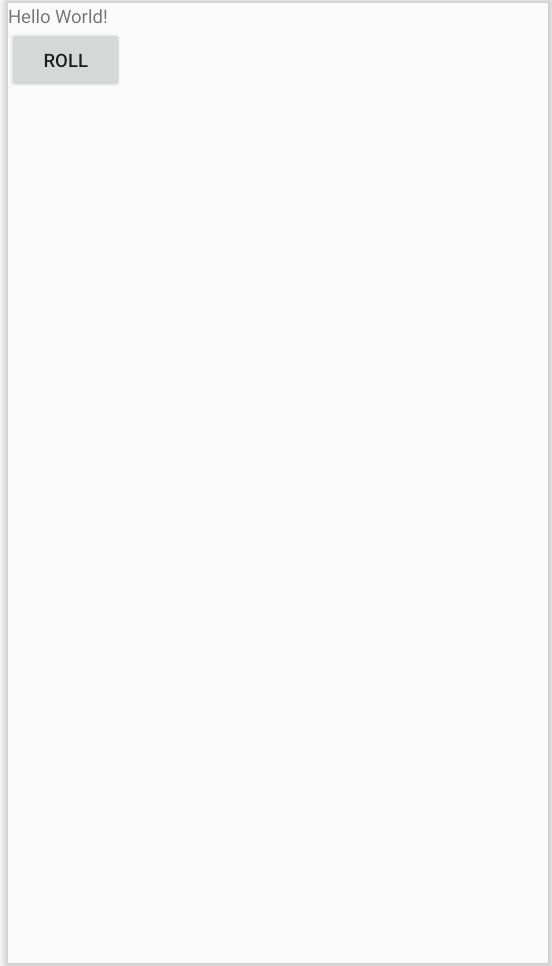
orientation に vertical を指定してウィジェットを上下に並べます。
android:orientation="vertical"

<?xml version="1.0" encoding="utf-8"?>
<LinearLayout
    xmlns:android="http://schemas.android.com/apk/res/android"
    xmlns:tools="http://schemas.android.com/tools"
    android:layout_width="match_parent"
    android:layout_height="wrap_content"
    android:orientation="vertical"
    tools:context=".MainActivity" >

    <TextView
        android:layout_width="wrap_content"
        android:layout_height="wrap_content"
        android:text="Hello World!" />
    <Button
        android:layout_width="wrap_content"
        android:layout_height="wrap_content"
        android:text="@string/roll_label" />

</LinearLayout>
2. ウィジェットを左右中央に配置する
TextViewとButtonのlayout_gravityは位置を指定する14種類の値がありました。

LinnerLayout の layout_gravity と同じようですが、TextView や Button の layout_gravity の値について説明するドキュメントは見つけることができませんでした。
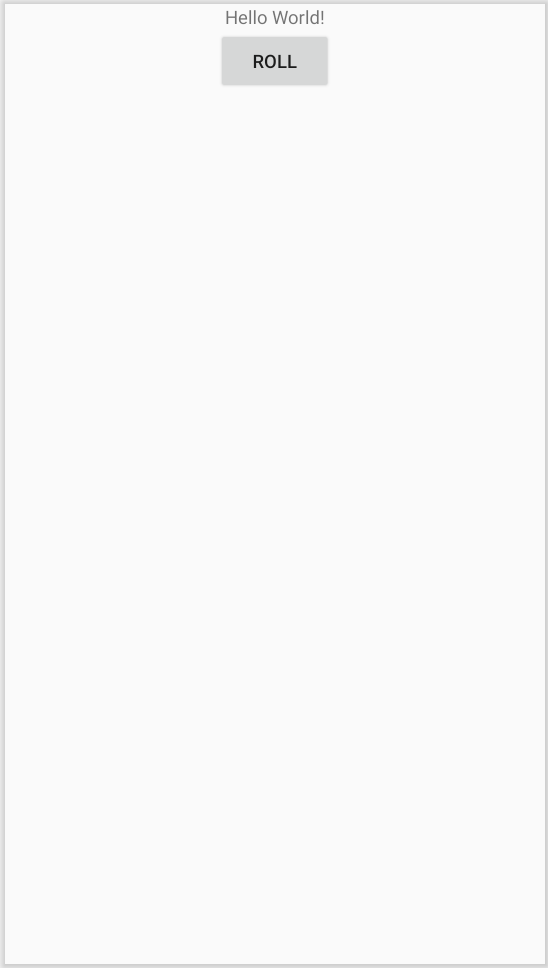
layout_gravity に center_horizontal を指定して左右中央に配置します。
android:layout_gravity="center_horizontal"

<?xml version="1.0" encoding="utf-8"?>
<LinearLayout
    xmlns:android="http://schemas.android.com/apk/res/android"
    xmlns:tools="http://schemas.android.com/tools"
    android:layout_width="match_parent"
    android:layout_height="wrap_content"
    android:orientation="vertical"
    tools:context=".MainActivity" >

    <TextView
        android:layout_width="wrap_content"
        android:layout_height="wrap_content"
        android:layout_gravity="center_horizontal"
        android:text="Hello World!" />
    <Button
        android:layout_width="wrap_content"
        android:layout_height="wrap_content"
        android:layout_gravity="center_horizontal"
        android:text="@string/roll_label" />

</LinearLayout>
3. ウィジェットを上下中央に配置する
LinearLayout の layout_gravity を使って子要素の位置を指定します。
layout_gravity には位置を指定する14種類の値があります。
規定値は Gravity.Top となっているようです。

LinearLayout.LayoutParams | Android Developers
layout_gravity に center_vertical を指定して上下中央に配置します。
android:layout_gravity="center_vertical"

<?xml version="1.0" encoding="utf-8"?>
<LinearLayout
    xmlns:android="http://schemas.android.com/apk/res/android"
    xmlns:tools="http://schemas.android.com/tools"
    android:layout_width="match_parent"
    android:layout_height="wrap_content"
    android:orientation="vertical"
    android:layout_gravity="center_vertical"
    tools:context=".MainActivity" >

    <TextView
        android:layout_width="wrap_content"
        android:layout_height="wrap_content"
        android:layout_gravity="center_horizontal"
        android:text="Hello World!" />
    <Button
        android:layout_width="wrap_content"
        android:layout_height="wrap_content"
        android:layout_gravity="center_horizontal"
        android:text="@string/roll_label" />

</LinearLayout>